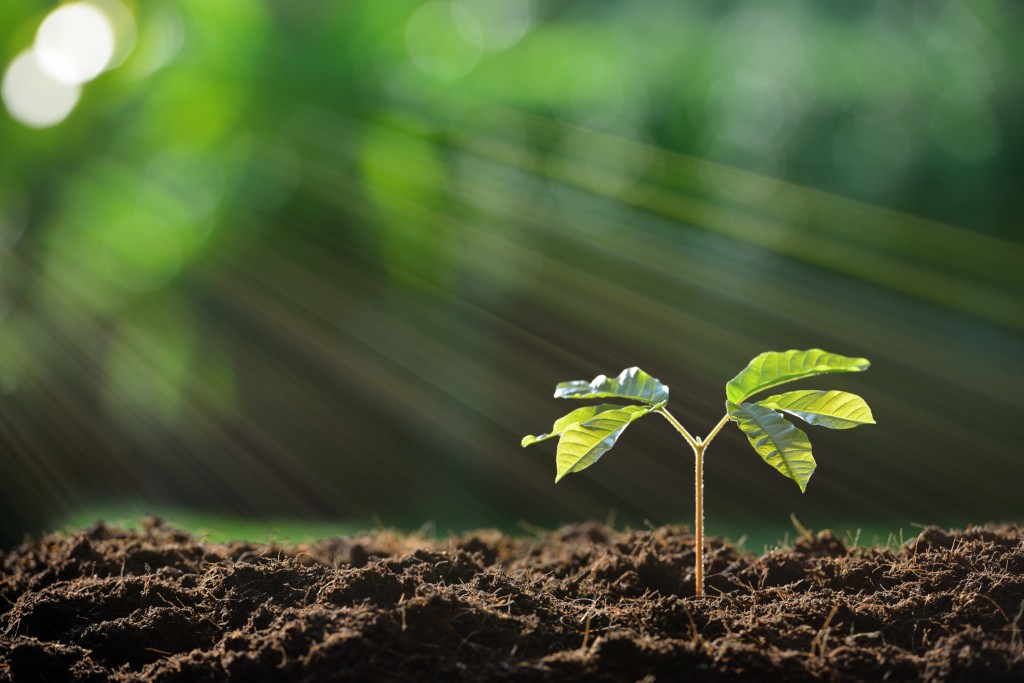
Grow Your Own Microgreens and Sprout the Benefits
Microgreens are springing up all over, which means sprouts have a come a long way since the 1970s. Today, almost everyone is a health nut—interested in prolonging life, feeling as good as possible, and looking as young as can be. Because of that, chefs and foodies have decided to take another look at home sprouting. Of course, today the preferred term is “microgreens,” but really that includes baby shoots from vegetables, or beans, or seeds, or even grains.
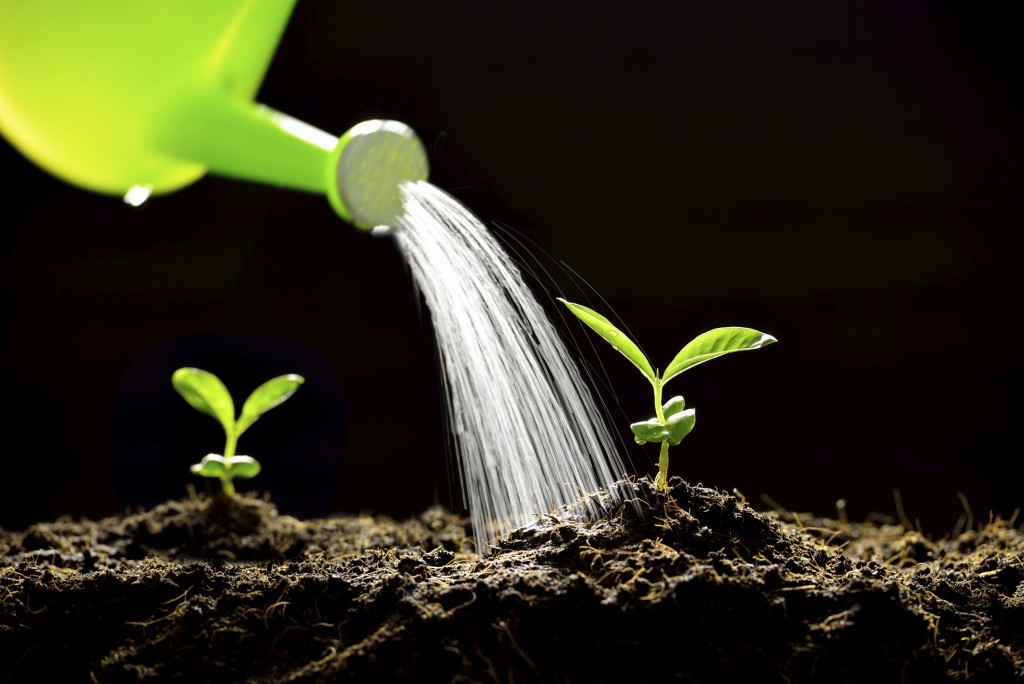
Sprouts, or microgreens, are very healthy because they contain all of the nutrients of bigger, adult plants in their young, tender shoots. Generally speaking, sprouts are germinated in water under low light conditions while micro-greens are grown in soil in regular light. Sprouts can be eaten with their roots attached, but it’s probably safer to trim the roots off before eating so that the seed hulls caught in the roots aren’t ingested. Roots and seed hulls can harbor bacteria if not properly rinsed. Germinating sprouts at home requires constant soaking and rinsing and aerating in order to keep them clean and free of pathogens. Seeds can be germinated in soil or in small containers, or sprouted in water using a sprouting machine.
I bought a sprouting machine from Freshlife so that I could have fresh sprouts for my and stir-fries and sandwiches. I use only organic seeds. They can be purchased online at www.sproutman.com I like broccoli, mung bean (see my Sweet Mung Beans dessert recipe below), wheat grass, fenugreek, and alfalfa sprouts. I place my seeds inside the Freshlife sprouter and fill it with distilled water. I can sprout two or three varieties of seeds at one time, as long as they have similar harvesting periods. The machine will sprinkle the sprouts with water at regular intervals. It also drains excess water and keeps the sprouts aerated so I don’t have to worry about bacteria growing. If you sprout seeds at home without a machine, you have to water them twice a day and change the water every day yourself.
Once the seeds grow to a height of about 4 or 6 inches and have two tiny leaves, they are ready to harvest. For radish, kale, turnip, and mustard seeds this takes only 5–6 days. Alfalfa and clover seeds take about 7 days to mature. Buckwheat, fenugreek, red pea, sunflower, and wheatgrass seeds take 8–12 days to reach maturity. Garlic, onion, chia, and psyllium seeds need 12–14 days to sprout. I simply cut the sprouts off the seed tray and store them in my refrigerator for up to a week. Or I eat the tender greens right away in a salad or a sandwich wrap.
Seeds that generate a gelatinous covering when soaked shouldn’t be sprouted in a plastic tray like the one in my Freshlife sprouter. Those need to be grown on clay. Gelatinous seeds include arugula, chia, cress, psyllium, and flaxseeds, and yellow mustard seeds. A chia pet, believe it or not, is really the best vehicle for sprouting these kinds of seeds.
To grow your own microgreens at home, you can use a handy kit from a company called Sprout People or find one on Amazon.
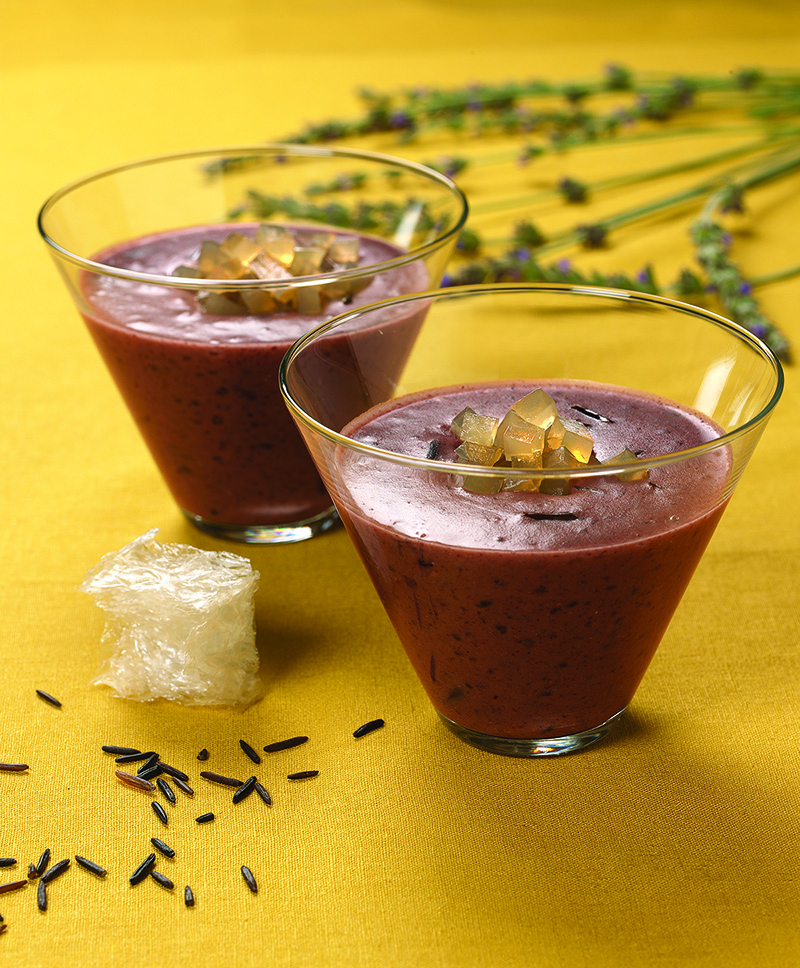
Sweet Mung Beans
Serves 8–10
I based this dish on Chinese Mung Bean Soup, which is traditionally served at the end of multicourse banquet meals. It is just one of the tasty desserts in my new cookbook, The AGE BEAUTIFULLY Cookbook. It can also be eaten as a sweet appetizer. The sweetened agar-agar cubes (similar to gelatin cubes) add brightness and a fun texture. Made from seaweed, agar-agar is a vegetarian alternative to gelatin. If you can’t find agar-agar powder, you can use gelatin powder instead. Red mung beans can be difficult to find, but they make the prettiest soup. The green variety will work in a pinch. This dish can be served hot or cold.
Mung beans are an excellent source of folate, a nutrient that reduces the risk of certain cancers and heart disease. They’re also a good source of fiber, which helps lower cholesterol and lowers your risk of certain types of cancer. Wild rice contains anthyocyanins, which have antioxidant properties.
Ingredients
½ cup agar-agar powder (or one long bar of agar-agar soaked in a little water for 30 min. and drained)
1 cup water
¼ cup agave syrup
⅓ cup wild rice
1 cup coconut milk
1 cup small red mung beans, soaked overnight
4 cups water
⅓ cup cooked tapioca (instant or regular)
½–1 cup agave syrup
Procedure
- Boil either the softened bar or the powder in the cup of water for 5–8 minutes or until the agar-agar dissolves fully and the mixture becomes transparent.
- Remove from the heat and stir in the agave syrup. Pour into a rectangular or square glass pan (up to 8 x 8 inches) and chill for at least an hour. When firm, cut into ¼- inch cubes. Chill until ready to serve.
- Simmer the rice in the coconut milk for 25–35 minutes or until tender. Set aside.
- Cook the mung beans in water for 30–45 minutes or until soft. Allow to cool without draining the water. Blend or mash with the cooking water until smooth.
- Fold the cooked tapioca into the beans and keep warm over low heat. Add the rice and warm through for 5–10 minutes. Add the agave syrup to the sweetness you desire.
- To serve, pour into bowls and top with the agar-agar cubes.
Chef’s Note: Your can find agar-agar powder at a variety of online sources and agar-agar bars at Eden Organic, edenfoods.com