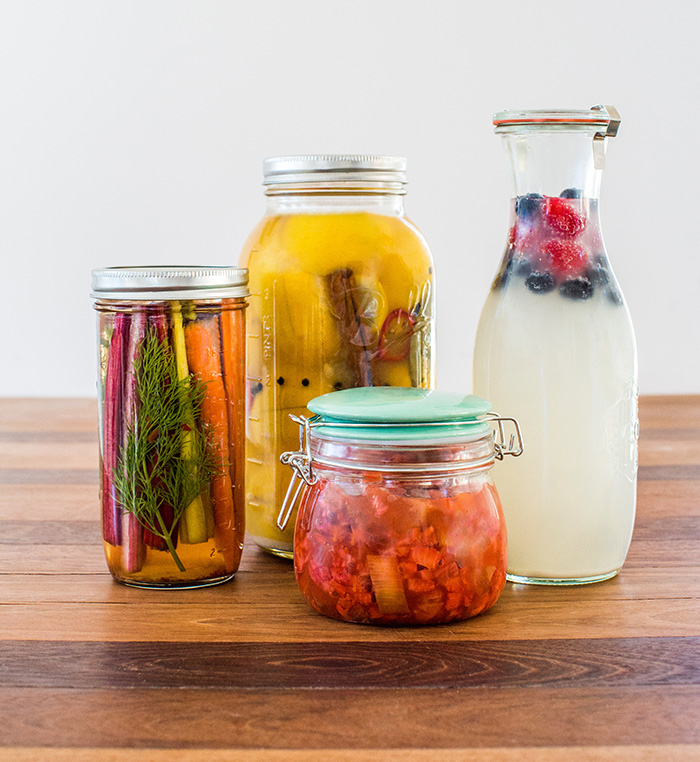
Feeling Creative? How to Ferment Your Own Foods

How does lacto-fermentation work? What tools and supplies do you need to get started creating probiotic-rich foods at home? Cover all your bases with our quick-start guide to DIY fermentation.
What is lacto-fermentation?
Lacto-fermented foods are fermented by lactobacillus bacteria, a category of beneficial bacteria that feeds on sugar and produces lactic acid as a byproduct. This is why lacto-fermented foods taste acidic. Most lacto-fermented foods are nothing more than whole, chopped, sliced or grated vegetables placed in a brine of salt and water for a period of time at room temperature to let beneficial bacteria develop.
Anaerobic environment:
One of the most important steps in home fermentation is to keep the vegetables submerged in a brine to prevent mold or harmful bacteria from growing. The beneficial lactobacillus bacteria is part of an anaerobic category of bacteria, meaning that it doesn’t need oxygen for production.
Use these tips to ensure an anaerobic environment:
- To eliminate air pockets, tightly pack and pound chopped vegetables and/or fruits with a tamper and add salt.
- Use weights to submerge fermenting foods in the brine, and opt for airlock lids. Wipe the rim clean of any exposed food or liquid before sealing.
Why salt?
Salt prevents undesired bacteria from overpowering the lactobacillus. Using salt also helps the vegetables stay crunchy by drawing water out of them. This extracted water can then act as the liquid for the brine.
Storage & fermentation vessel:
 Make sure your fermentation vessel and weights are clean. You can easily sterilize them with boiling water or by running them through a cycle in your dishwasher—then let them air-dry.
Choose a glass vessel. Do not use a lid that exposes bare metal to the ferment; it may rust. Select a lid that is “lined” or plastic. Store in a cool, dark place, ideally between 60 and 75 degrees Fahrenheit.
Mold & yeast:
If a fuzzy, raised, white/blue mold appears on your ferment, throw it out and start again. Unlike with cheese, you’re not trying to grow mold, and the type of mold that forms on your ferment will not be a type you can ingest. It’s best to err on the safe side and start over.
On the other hand, kahm yeast—a milky white substance that appears on the surface—is safe and can be scraped off. Kahm yeast is flat, except where bubbles form when CO² is trapped. It may have a yeasty smell and look powdery. On the downside, the flavor of kahm can affect the flavor of your ferment, so it’s preferred to spoon it off.
When is your ferment ready for cold storage?
When you see bubbles and effervescence and your fermented food has a sour (but not rotten) aroma and taste.
What you’ll need:
- 16- to 64-ounce mason jars or other sterilized glass vessels
- Airlock fermentation lids
- Nonmetal strainer, cheesecloth or cotton satchel
- Glass pickling weights
- Wooden spoon, rolling pin or tamper
- Gloves
Ready to get fermenting? Start with the probiotic-rich recipes from Delicious Living’s May 2016 issue—including Anti-Inflammatory Turmeric Kraut, Moroccan Preserved Lemons and Strawberry Rhubarb Chutney.
SOURCE: This article is posted by permission Delicious Living (and its parent company New Hope Network), a trusted voice in the natural living community for 30 years.
By Carson Snyder
